Because when the skies open up, apparently I open puff pastry.
It was rainy and gray outside, the cat was napping like a professional, and I had a gluten-free puff pastry sheet sitting in the fridge. Obviously, the only logical next step was to attempt a Pinterest-worthy baking project I had no business attempting in my kitchen.
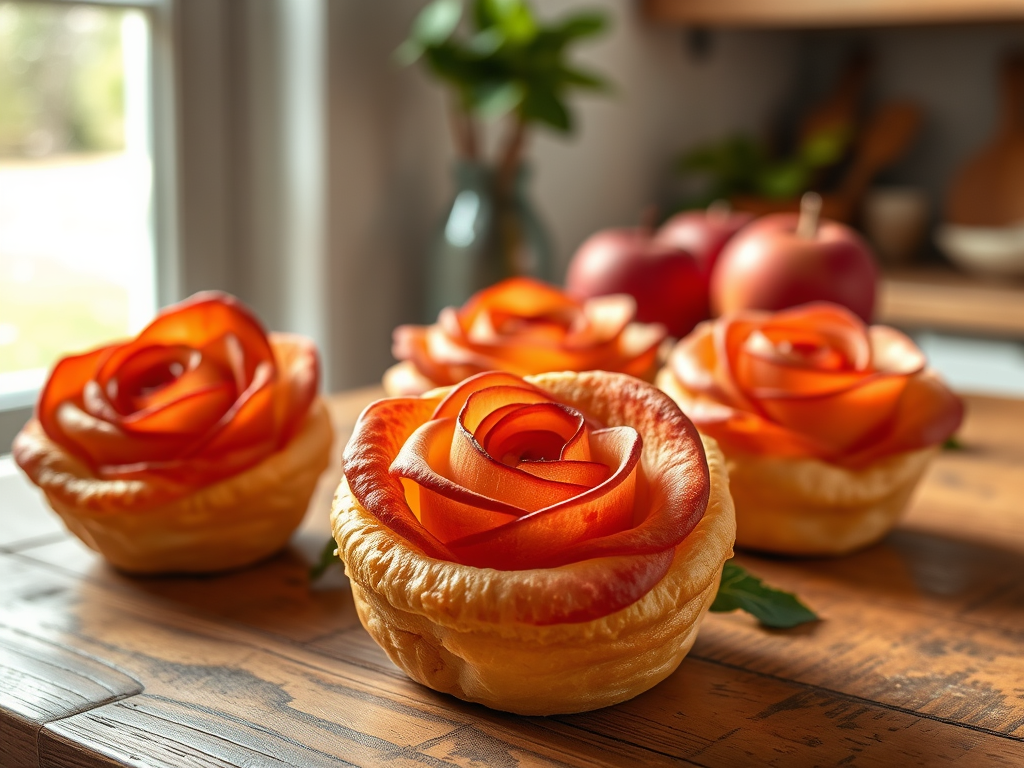
I went with gluten-free apple roses—because how hard could something flower-shaped really be?
Turns out… harder than it looks. But so worth it.

Ingredients:
- 1 sheet gluten-free puff pastry (I found mine at Target!)
- 2–3 red apples (I used 3, mostly because I kept snacking while slicing)
- Splash of lemon juice
- 2 tablespoons sugar (adjust to your sweet tooth)
- 1 teaspoon cinnamon (or just dump it wildly like I did)
- Optional: apricot jam or honey for glazing, powdered sugar for dusting, whipped cream or ice cream for a little extra magic
Let’s Bake (and Maybe Cry a Little):
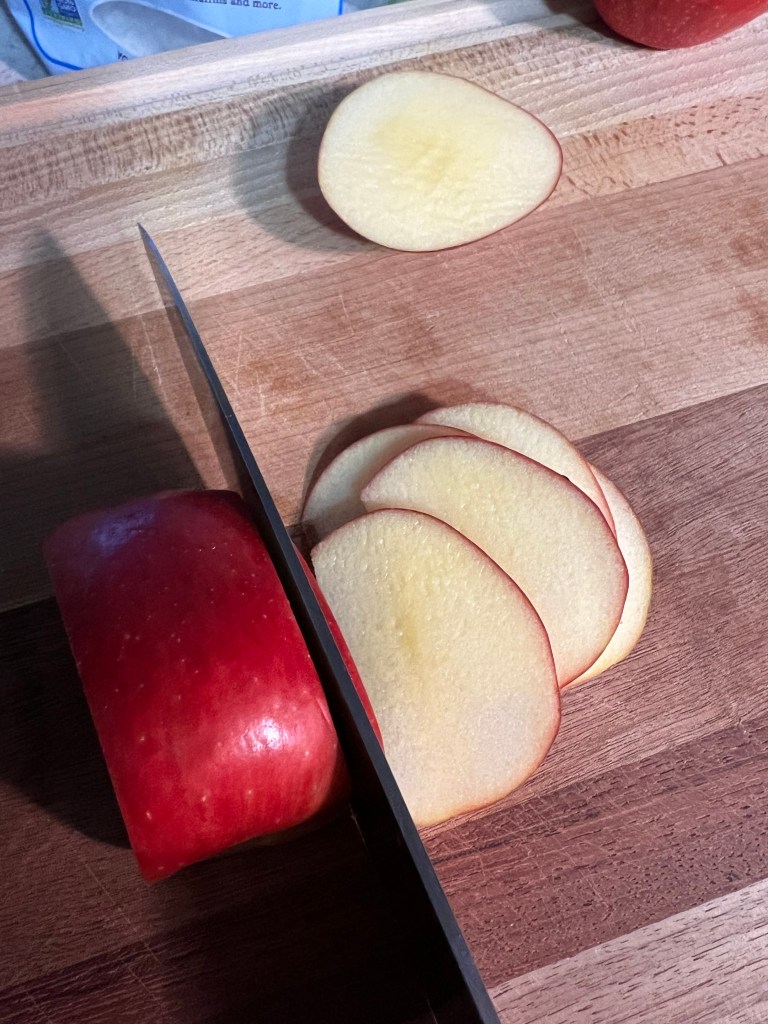
1. Slice the Apples Thin
If you have a mandolin slicer—use it. I don’t, so I improvised with a sharp knife, a cutting board, and a little stubborn determination. The thinner your slices, the easier this is. I thought mine were thin enough… I was wrong.
Note: I made 5 strips with my puff pastry sheet, so plan your apples accordingly.
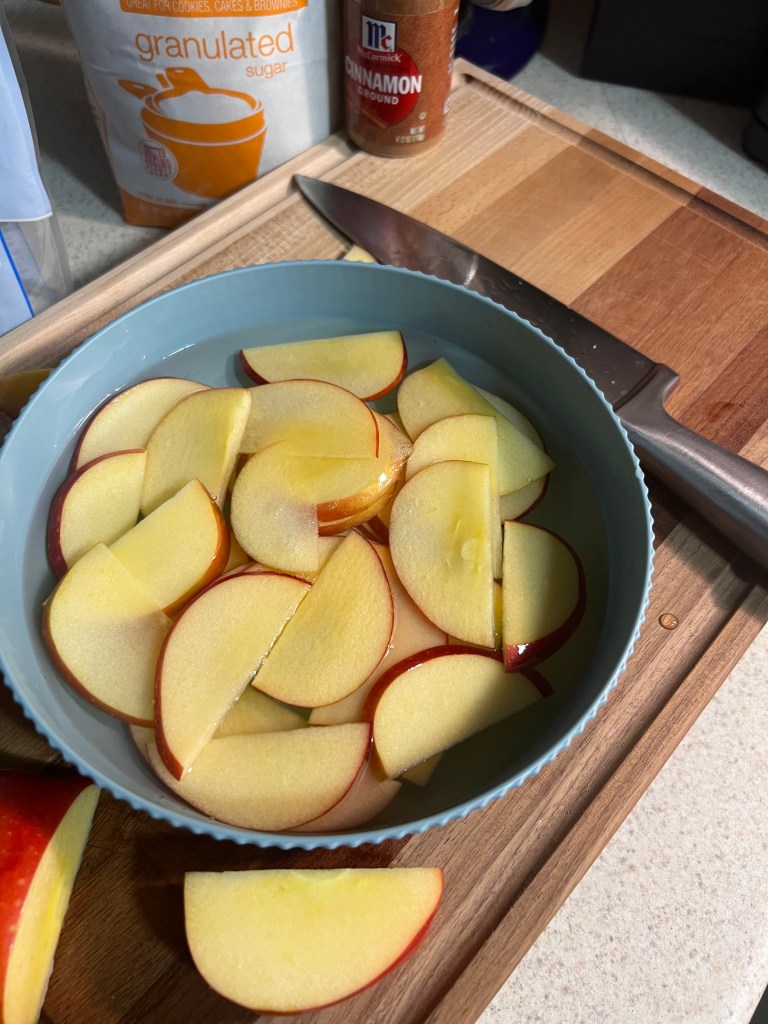
2. Soften the Slices (Really Soften Them)
Put the apple slices in a microwave-safe bowl with a bit of water and lemon juice. Microwave for 2–3 minutes. I did 2, but next time I’ll go longer—mine were still a bit stiff and gave me major attitude when I tried to roll them.

3. Prep the Puff Pastry
Roll your puff pastry sheet out just a smidge, then slice it into 5 strips, about 2 inches wide. Don’t overwork it—gluten-free pastry has enough drama on its own. Mine were a “little” under 2 inches. Opps!
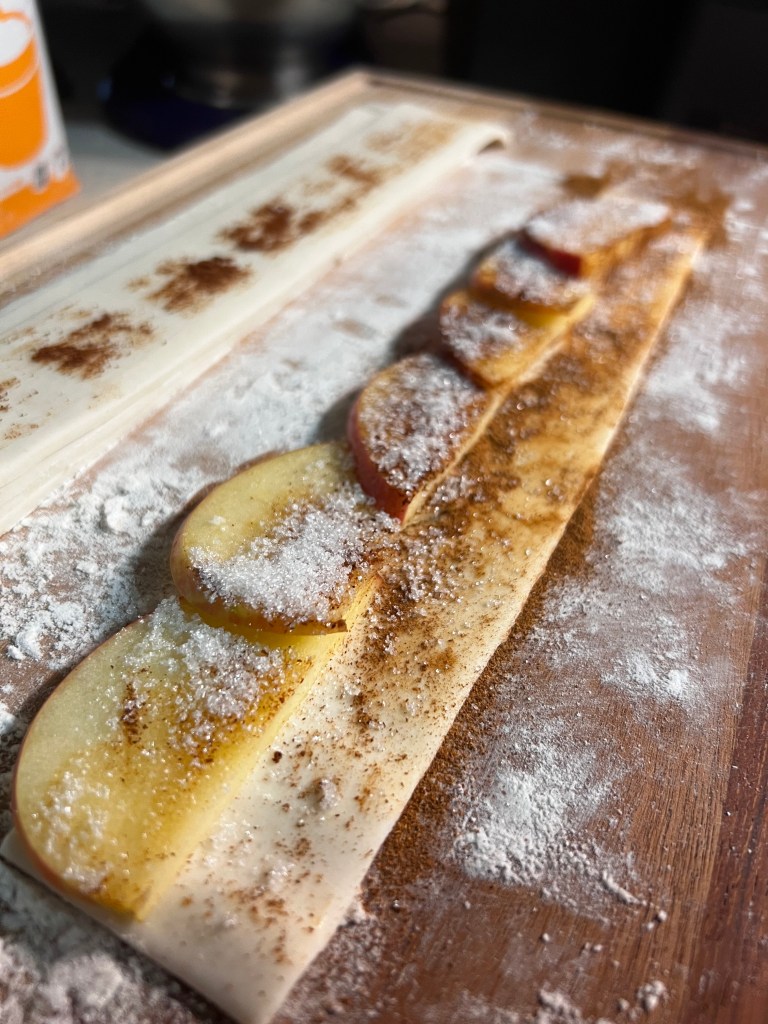
4. Assemble Your Blossoms
Line up your apple slices along the top edge of each strip, peel side up and overlapping like cute little scales. Sprinkle with cinnamon and sugar.
Quick tip: Check the size of the holes on your cinnamon shaker. I didn’t. One of my roses got a lot more love than the others. Oops.
Optional: Brush a little apricot jam or honey on the pastry before the apples for a little extra sweetness and shine.
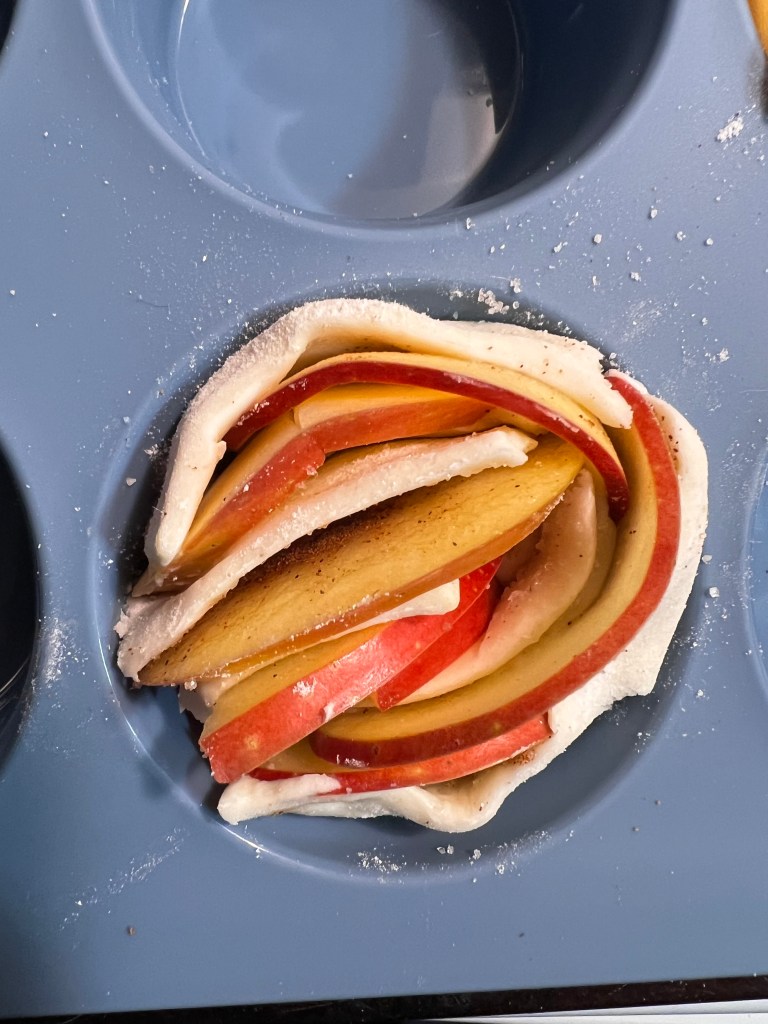
5. Fold and Roll
Fold the bottom of the strip up over the apples, then roll carefully into a spiral. Mine started unraveling like they knew I wasn’t a professional. It’s fine. Everything’s fine.
Put each rolled “rose” into a muffin tin to help it hold its shape.
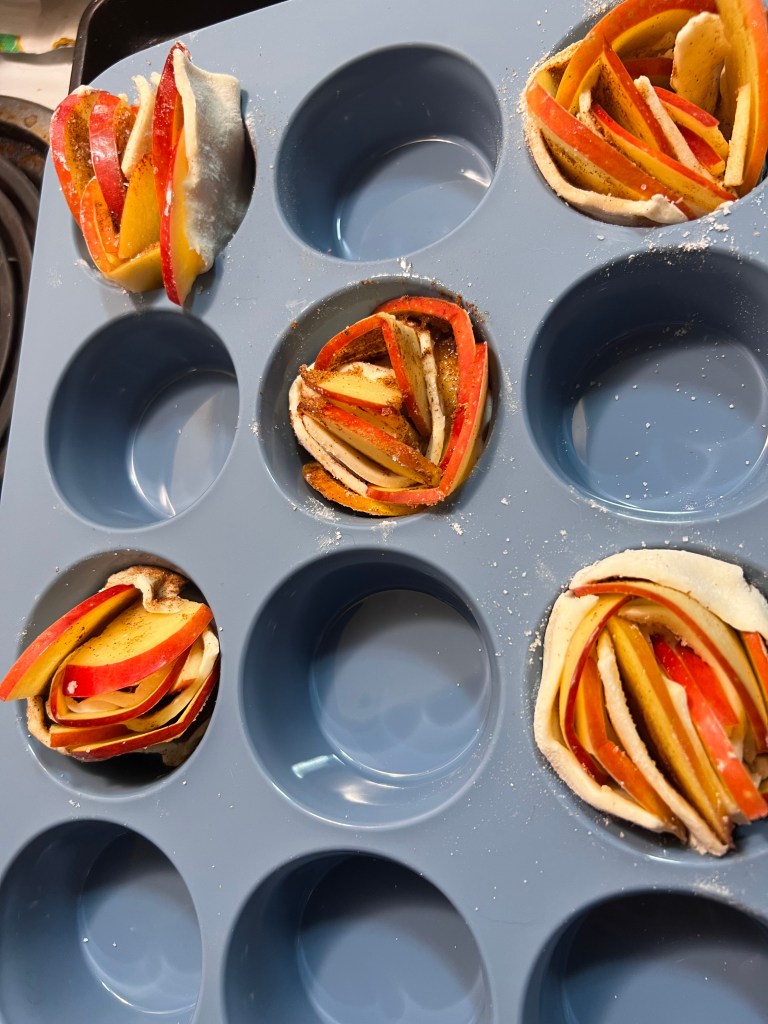
6. Bake It Up
Say a quick prayer and bake at 375°F (190°C) for about 35–40 minutes, or until golden brown.
Confession: Mine didn’t puff up much. I don’t know if it was the brand of puff pastry, the rain, or the pastry gods smiting me for my hubris. But they were still flaky-ish and tasty—and honestly, that’s the win.
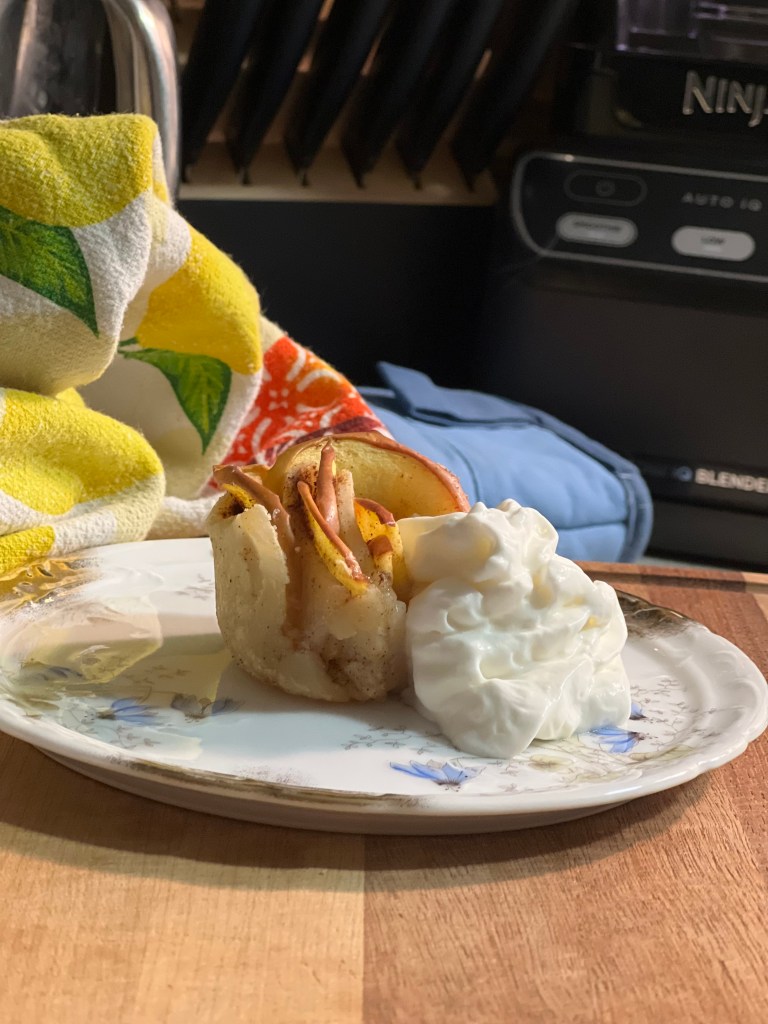
7. Cool & Serve (Maybe Hide the Ugly Ones)
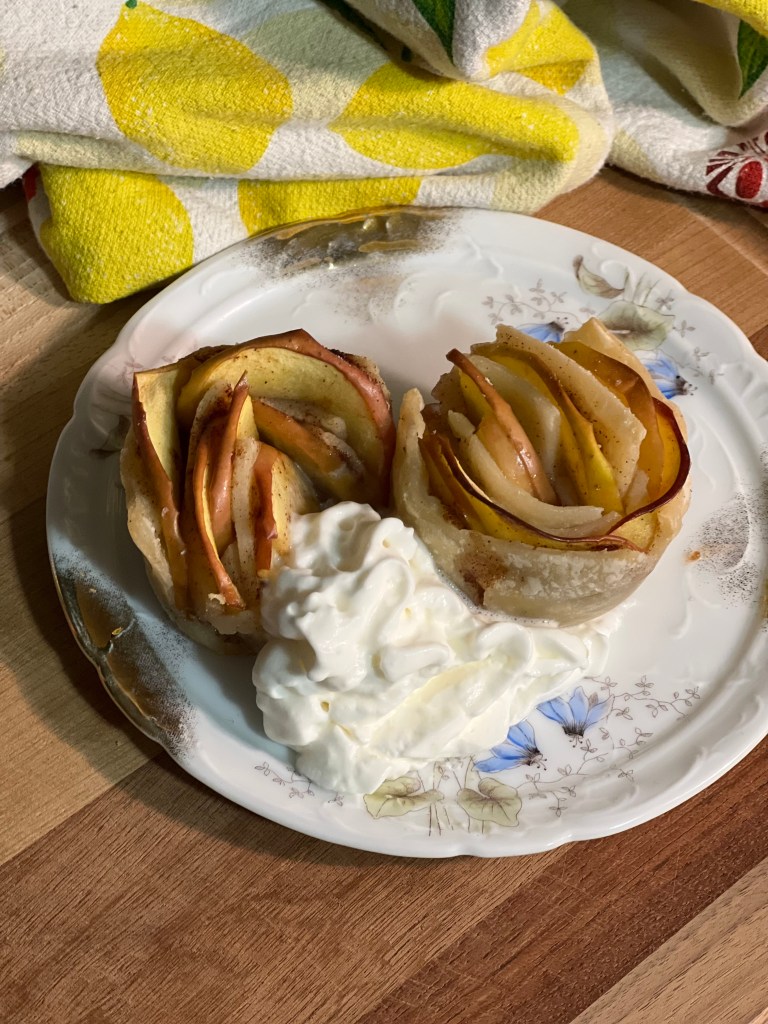
Let them cool for a few minutes before popping them out. Dust with powdered sugar or give a drizzle of honey for extra flair, or whipped cream.
Despite the visual chaos, they tasted amazing. Sweet, cinnamon-y, buttery—like an apple pie in its “experimental art” phase.
What I Learned (So You Don’t Have To):
- Use a mandolin if you have one.
- Microwave the apples a little longer than you think.
- Slice thinner than you ever thought necessary.
- Don’t get too precious—they’ll never look exactly like Pinterest.
- It’s fine. They’re still edible.
- Have backup snacks just in case.
Final Thoughts:
Baking these apple roses was part experiment, part therapy, and part ego check. They didn’t puff, they didn’t roll perfectly, but they made my kitchen smell like a cinnamon-sugar hug, and that’s a win in my book.
